V.1.3 Pompeii. House. Linked to V.1.7. Excavated 1836, 1875.
For extra detailed information see Swedish Pompeii Project web site
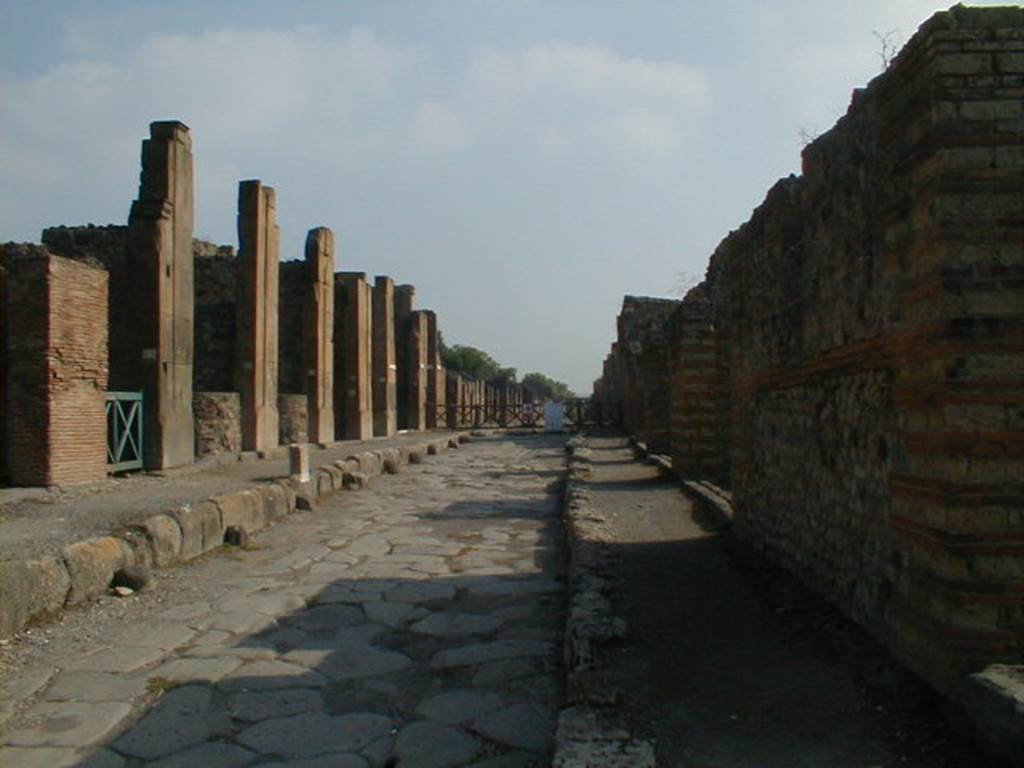
V.1.3 Pompeii, on
left. Via di
Nola from Via Stabiana, looking east. IX.4. on right.
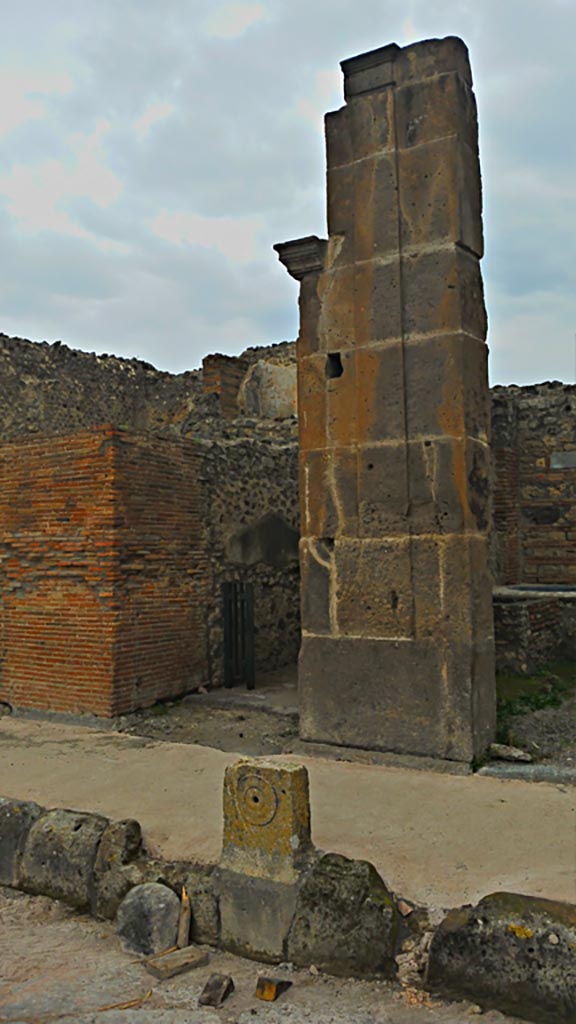
V.1.3 Pompeii. 2016/2017.
Looking towards
entrance doorway on north side of Via di Nola. Photo
courtesy of Giuseppe Ciaramella.
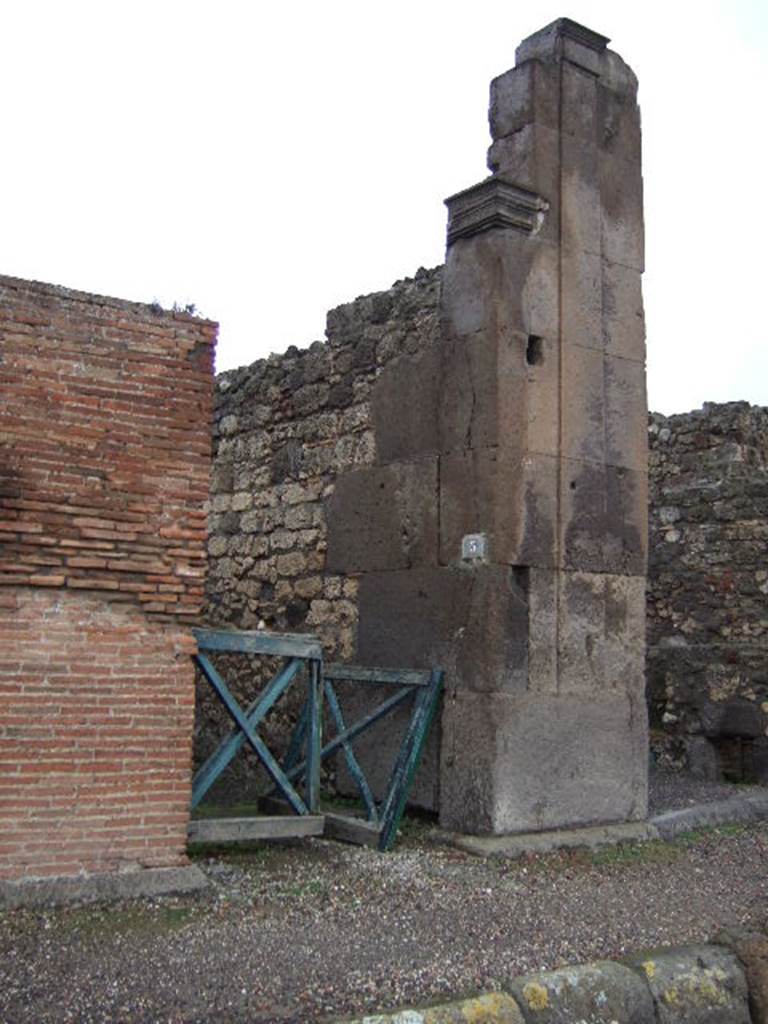
V.1.3 Pompeii. September 2004. Entrance doorway.

V.1.3 Pompeii, centre left. Pre-1937-1939. Looking north to entrance doorway on Via di Nola.
Photo courtesy of American Academy in Rome, Photographic Archive. Warsher collection no. 88.

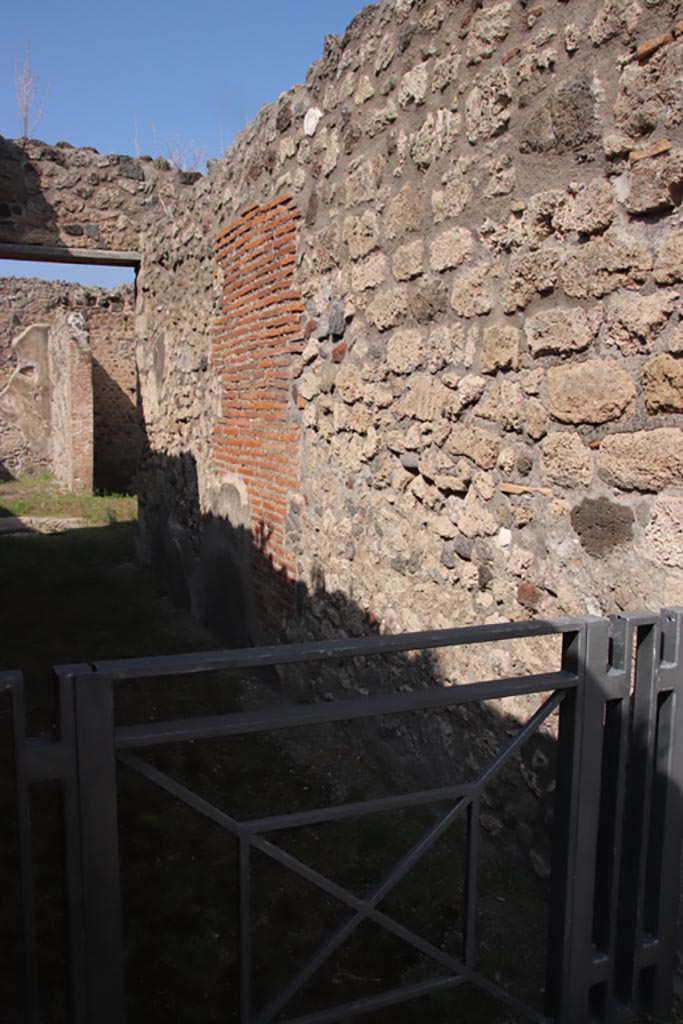
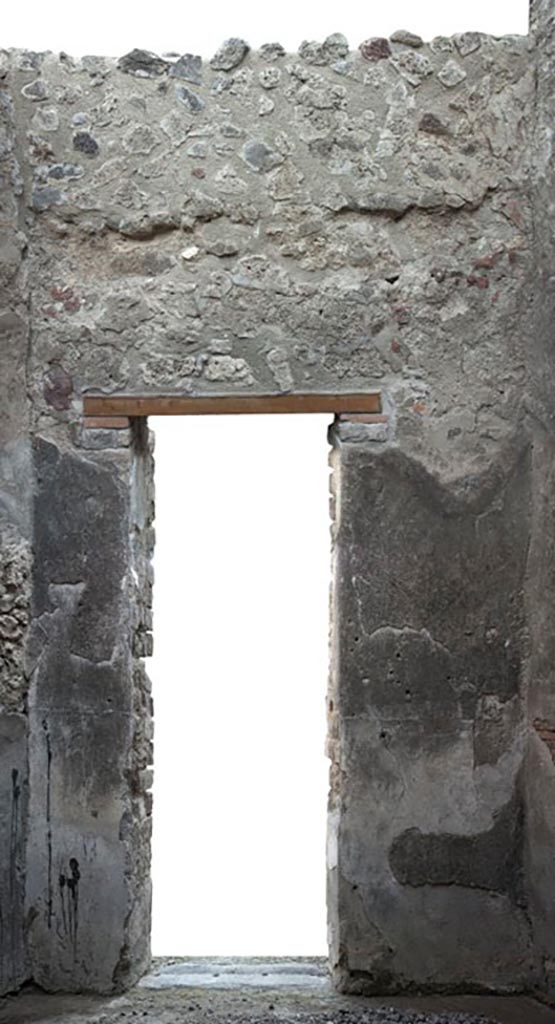
V.1.3 Pompeii. October
2023. East side of entrance doorway. Photo courtesy of Klaus Heese.

Looking north through
entrance doorway. Photo courtesy of Klaus Heese.

V.1.3 Pompeii. October
2023.
Looking north along
west wall of entrance corridor/fauces. Photo courtesy of Klaus Heese.
Looking north along
east wall of entrance corridor/fauces. Photo courtesy of Klaus Heese.

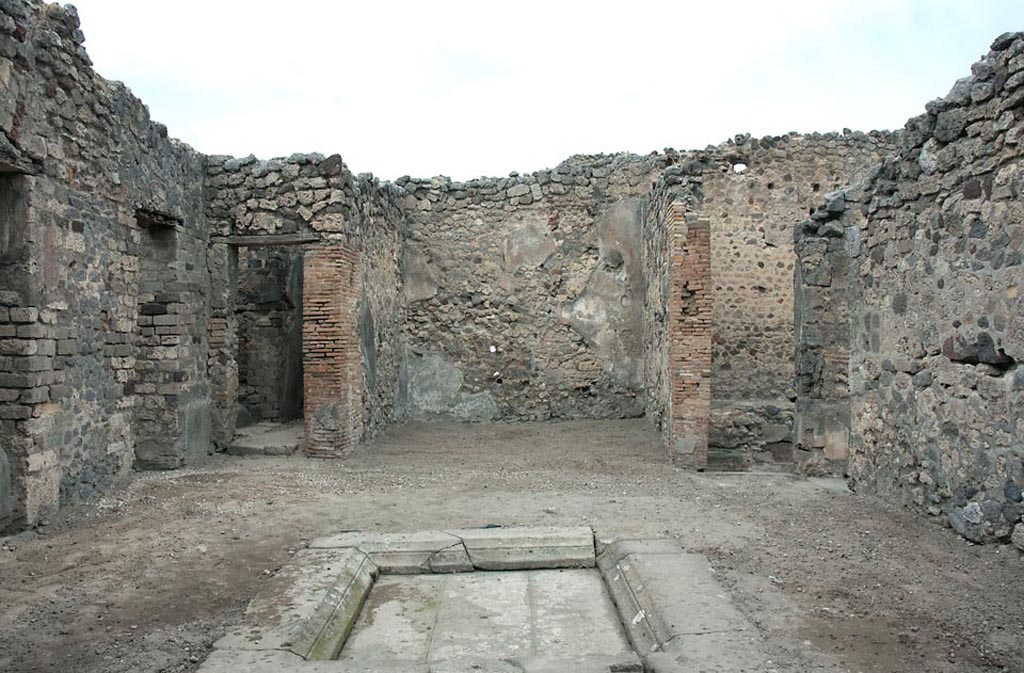
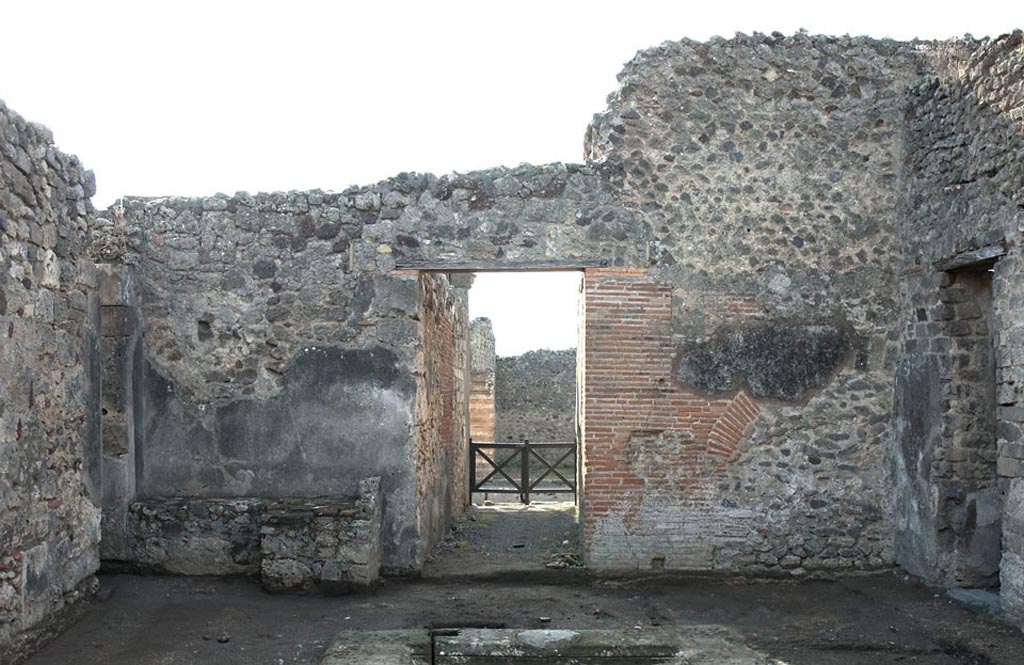
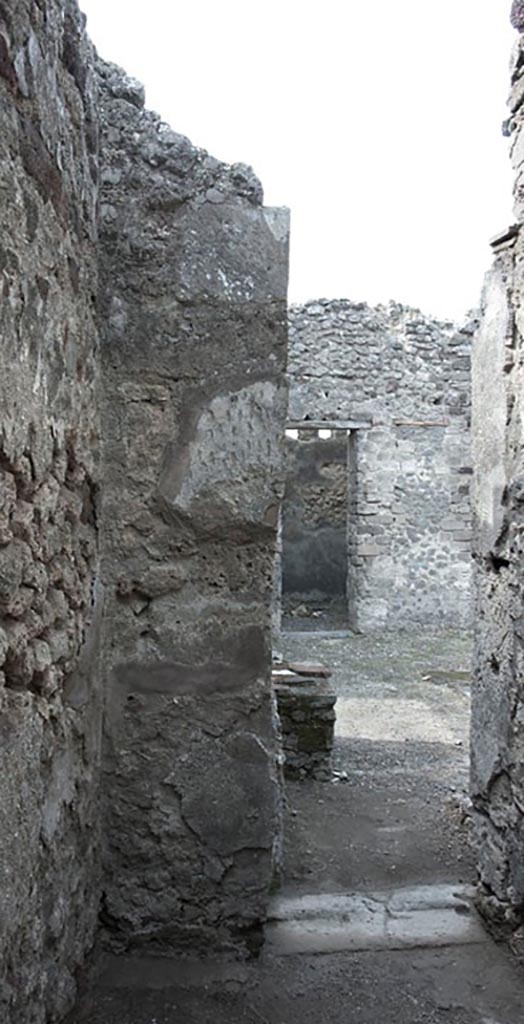
V.1.3 Pompeii. September 2004. Entrance corridor, looking north across atrium towards tablinum.
According to Niccolini –
“This house was preceded by the usual entrance corridor, which leads to the atrium with an impluvium in the centre, there are three cubicula on the left side of the atrium, and on the right, a passage leading into the following house (at V.1.7) and a very large room.
Facing (on the north side) we find the tablinum with a triclinium on its right, surrounded internally by large masonry seating, which could have been used as the triclinium couches, and to the left from a small corridor going up two steps you reach the kitchen with nearby latrine.
The tablinum, the triclinium, the corridor and kitchen were excavated in 1875.”
See Niccolini F, 1896. Le case ed i monumenti di Pompei: Volume Quarto: Part 1. Napoli, (p.8, Appendice, Nuovi Scavi dal 1874 a tutto il 1882).
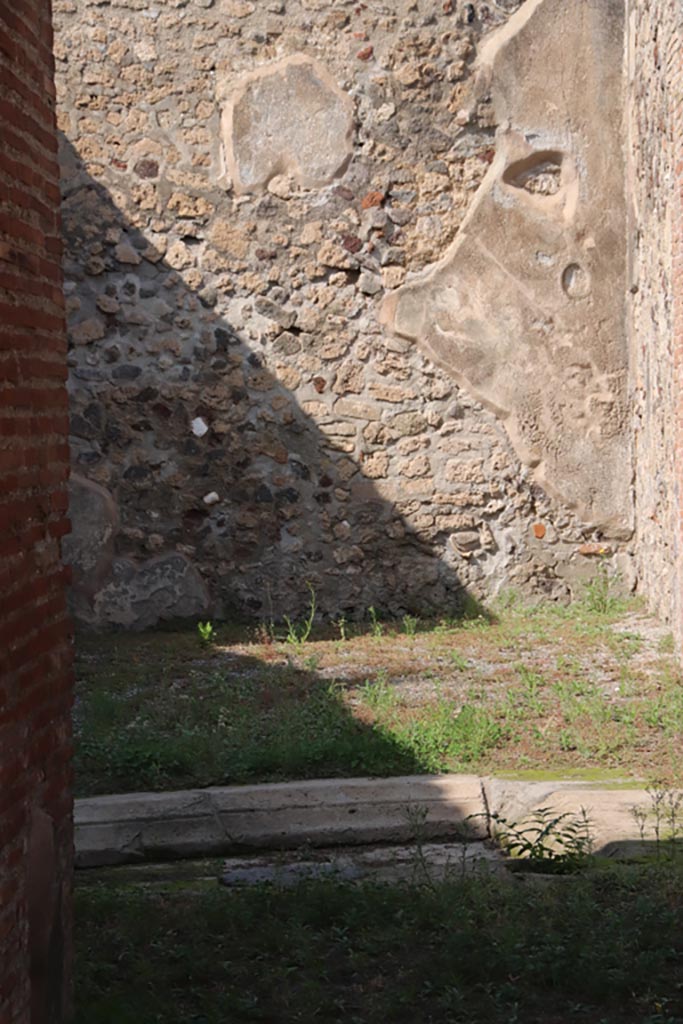
Looking across
impluvium in atrium, towards north wall and north-east corner of tablinum.
Photo courtesy of
Klaus Heese.
V.1.3
Pompeii. October 2023. Impluvium in atrium. Photo courtesy of Klaus Heese.
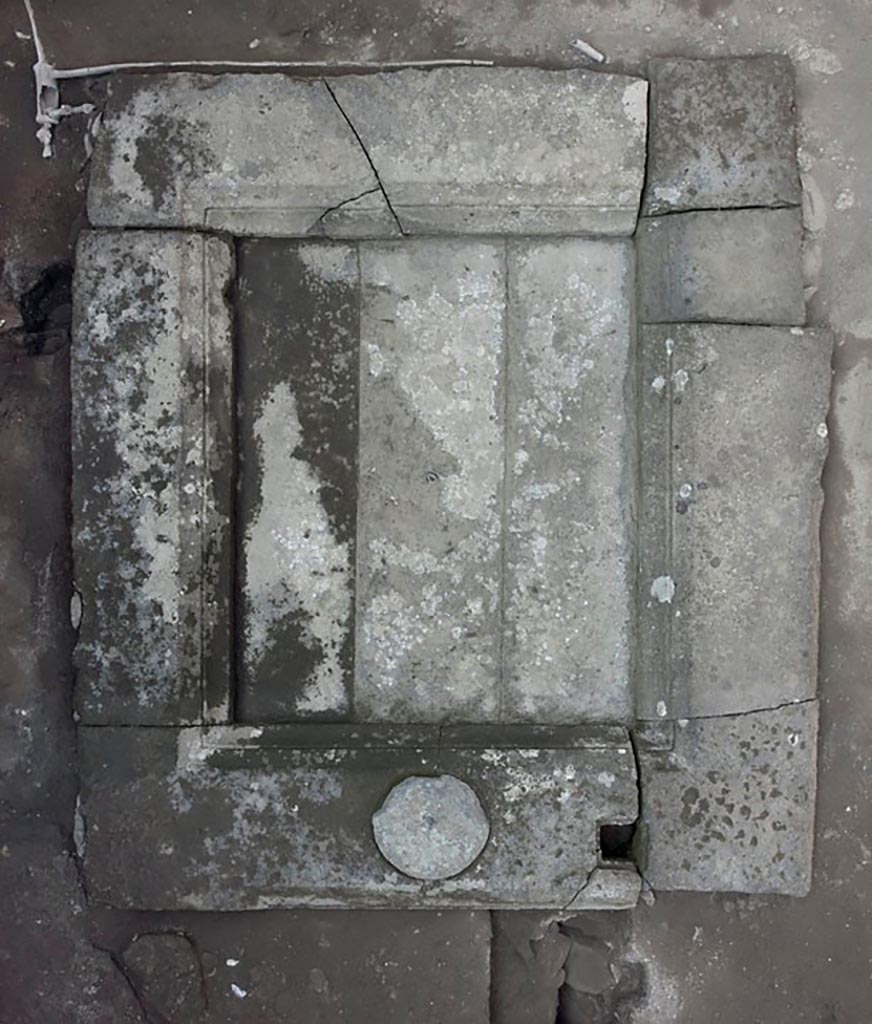
V.1.3 Pompeii. c.2008-10.
Room 2, Tufa impluvium in atrium, with lid of cistern mouth on south side.
Photo by Hans Thorwid.
Photo courtesy of the Swedish Pompeii Project.
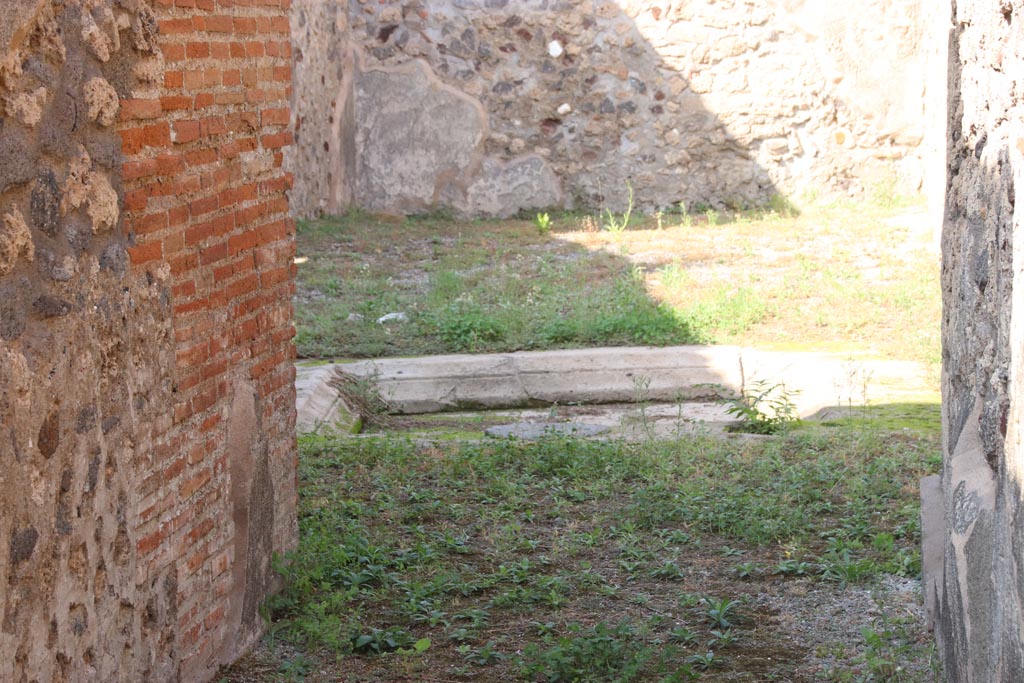
V.1.3 Pompeii. c.2008-10. Looking north across impluvium in atrium. Photo by Hans Thorwid.
Photo courtesy of the Swedish Pompeii Project.

V.1.3 Pompeii. 2012. West wall of atrium, after restoration, with doorways to rooms 7, 6 and 5. Photo by Hans Thorwid.
Photo courtesy of the Swedish Pompeii Project.

V.1.3 Pompeii. c.2012.
Room 2, north-west corner of north wall of atrium, doorway to room “b”, after restoration.
Photo by Hans Thorwid.
Photo courtesy of the Swedish Pompeii Project.

V.1.3 Pompeii. c.2008-10. North wall of room 2, atrium. Room “a” the tablinum is in the centre. Photo by Hans Thorwid.
Photo courtesy of the Swedish Pompeii Project.

V.1.3 Pompeii. c.2008-10.
Room 2, north-east corner of north wall of atrium, doorway to room “d”.
Photo by Hans Thorwid.
Photo courtesy of the Swedish Pompeii Project.
V.1.3 Pompeii. c.2012. Room 2, east wall of atrium, after restoration. Photo by Hans Thorwid.
Photo courtesy of the Swedish Pompeii Project.
V.1.3 Pompeii. c.2008-10.
Room 2, east wall of atrium, with doorway to corridor 3, (now blocked), in south-east corner. Photo by Hans Thorwid.
Photo courtesy of the Swedish Pompeii Project.
V.1.3 Pompeii. c c.2008-10.
Room 2, south wall of atrium, with hearth on left, and entrance doorway onto Via di Nola, in centre. Photo by Hans Thorwid.
Photo courtesy of the Swedish Pompeii Project.

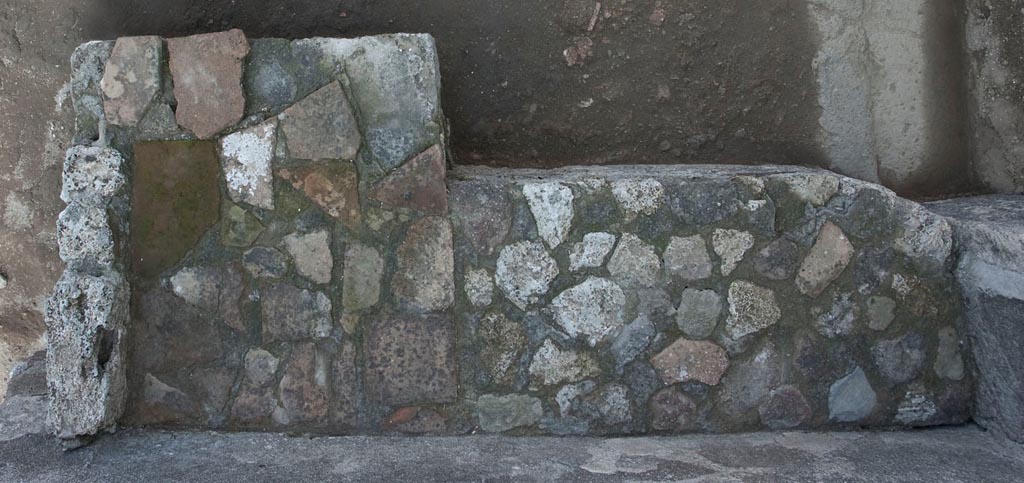
V.1.3 Pompeii. c.2008-10.
Room 2, hearth built against south wall in south-east corner of atrium. Photo by Hans Thorwid.
Photo courtesy of the Swedish Pompeii Project.
V.1.3 Pompeii. c.2008-10. Room 2, hearth, seen from above, in south-east corner of atrium. Photo by Hans Thorwid.
Photo courtesy of the Swedish Pompeii Project.

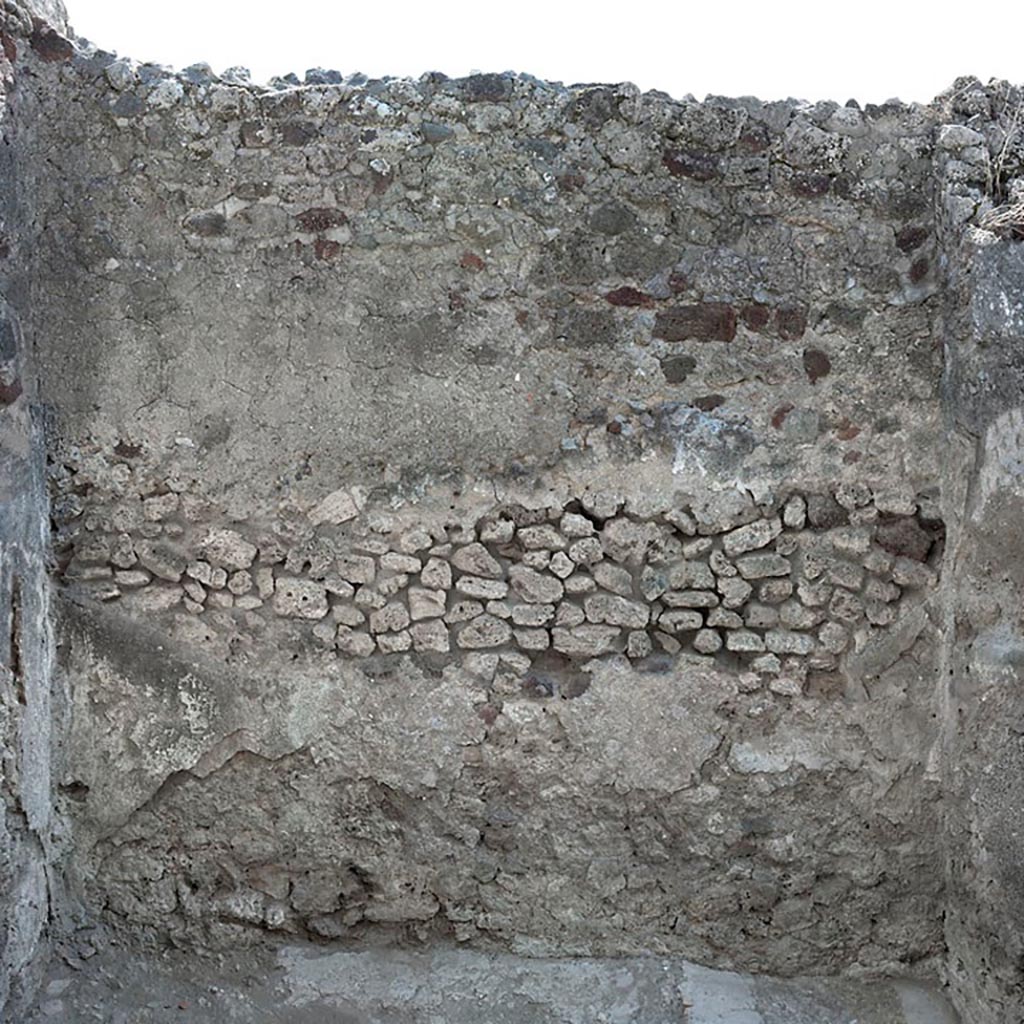
V.1.3 Pompeii. c c.2008-10. Room 3, north wall of corridor. Photo by Hans Thorwid.
Photo courtesy of the Swedish Pompeii Project.

Room 3, east wall of corridor with blocked doorway, which would have linked to V.1.7.
Photo by Hans Thorwid.
Photo courtesy of the Swedish Pompeii Project.
V.1.3 Pompeii. c.2008-10. Room 3, south wall of corridor. Photo by Hans Thorwid.
Photo courtesy of the Swedish Pompeii Project.
V.1.3 Pompeii. c.2008-10.
Room 3, west wall of corridor, linking into room 2, atrium.
Photo by Hans Thorwid.
Photo courtesy of the Swedish Pompeii Project.
V.1.3 Pompeii. c.2008-10. Room 3, looking down onto floor of corridor. Photo by Hans Thorwid.
Photo courtesy of the Swedish Pompeii Project.

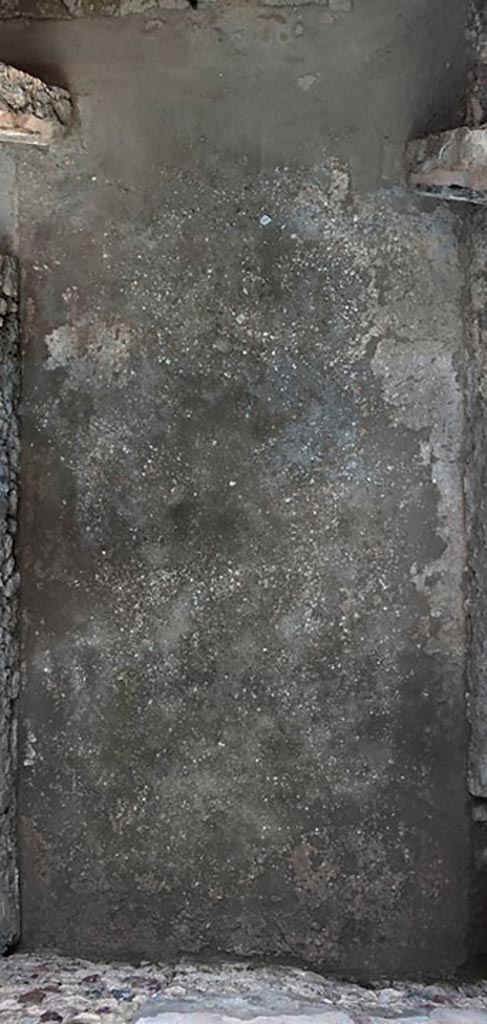
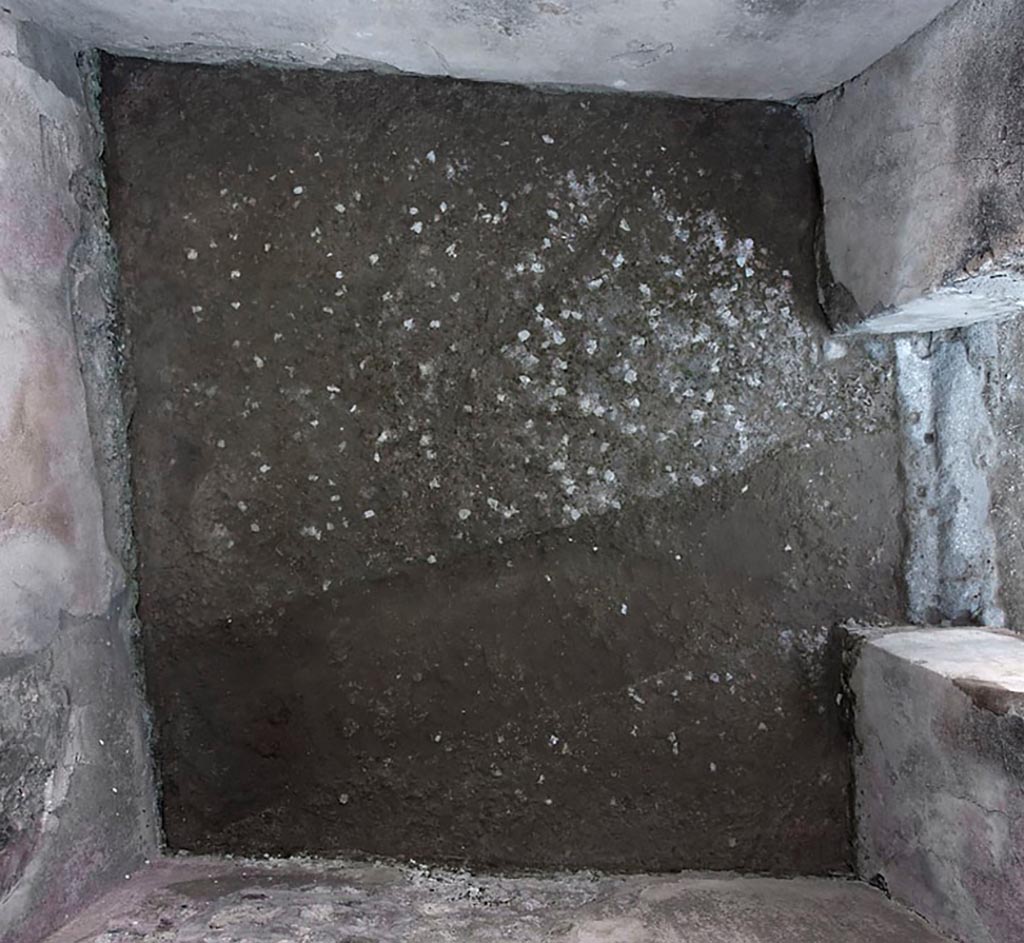
V.1.3 Pompeii. c.2008-10.
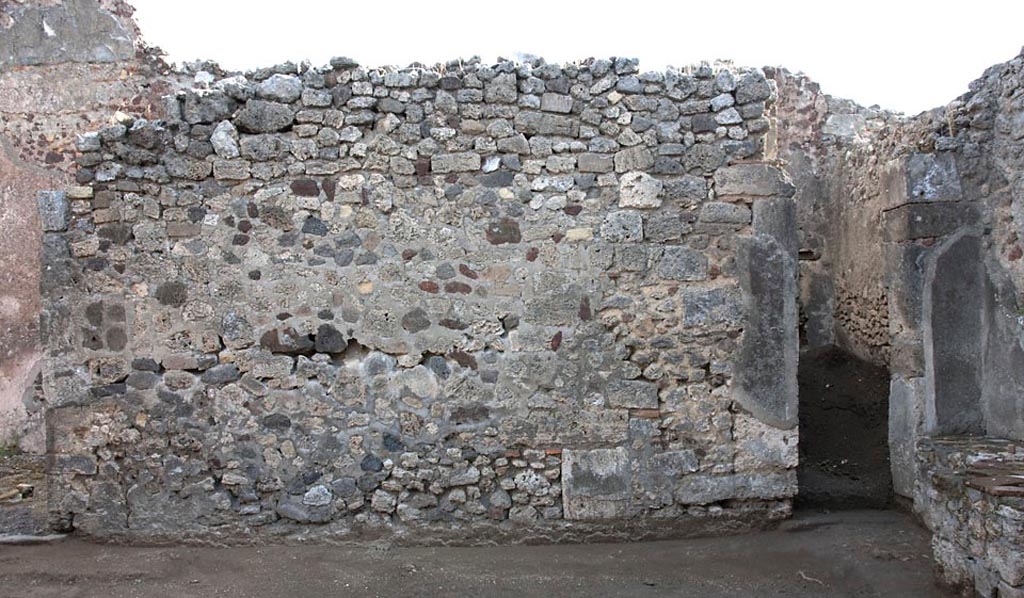
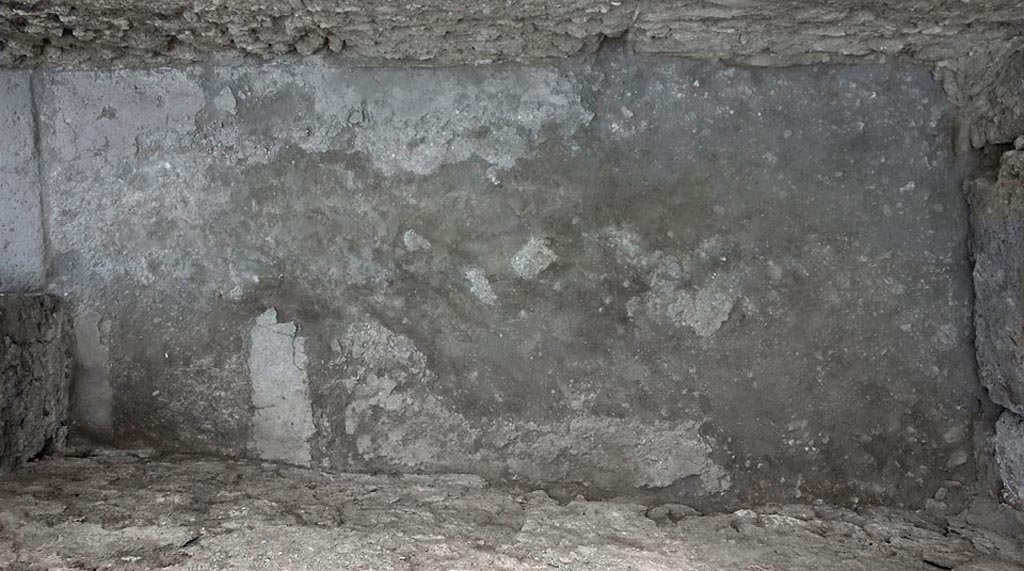
Room 4, triclinium, east wall, with niche/recess at south end. Photo by Hans Thorwid.
“Almost the entire niche is covered by plaster.
In the S corner and along the floor there are remains of black bands. Also the upper part has minor traces of black.
There is modern plaster in a small area in the middle of the niche, and to some extent also on the S side.
The N side is covered with modern mortar.”
Photo and words courtesy of the Swedish Pompeii Project.
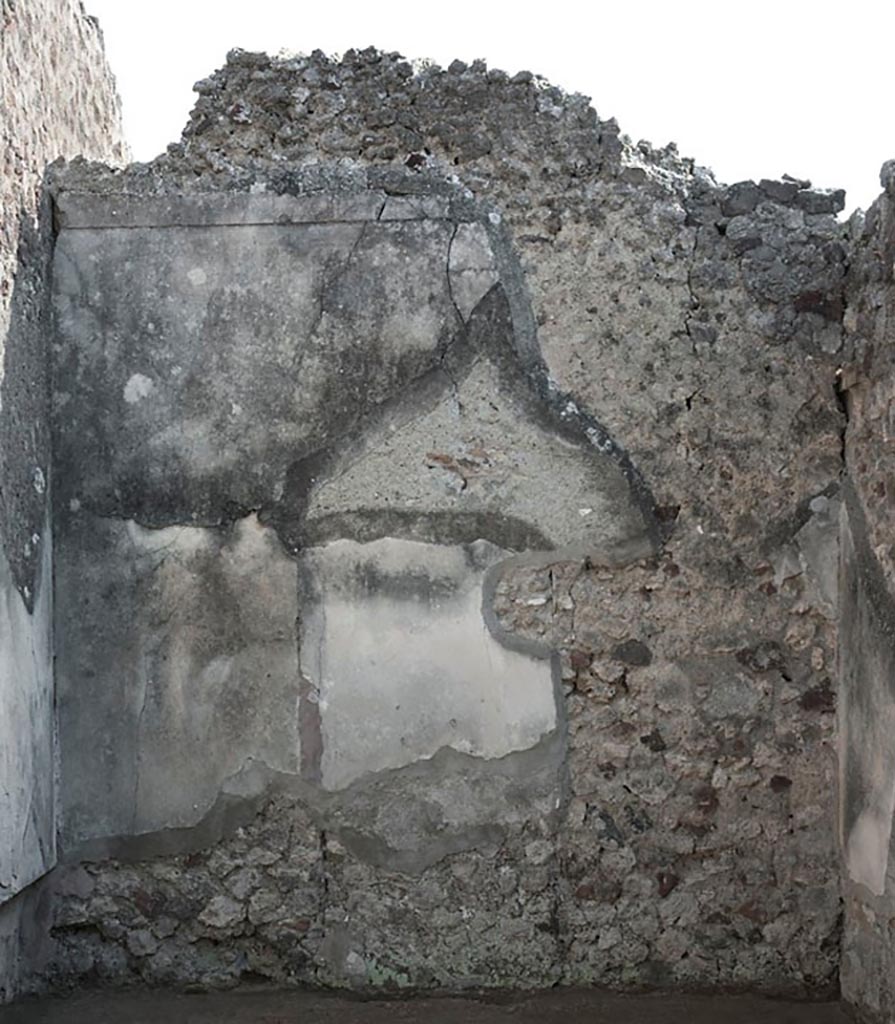
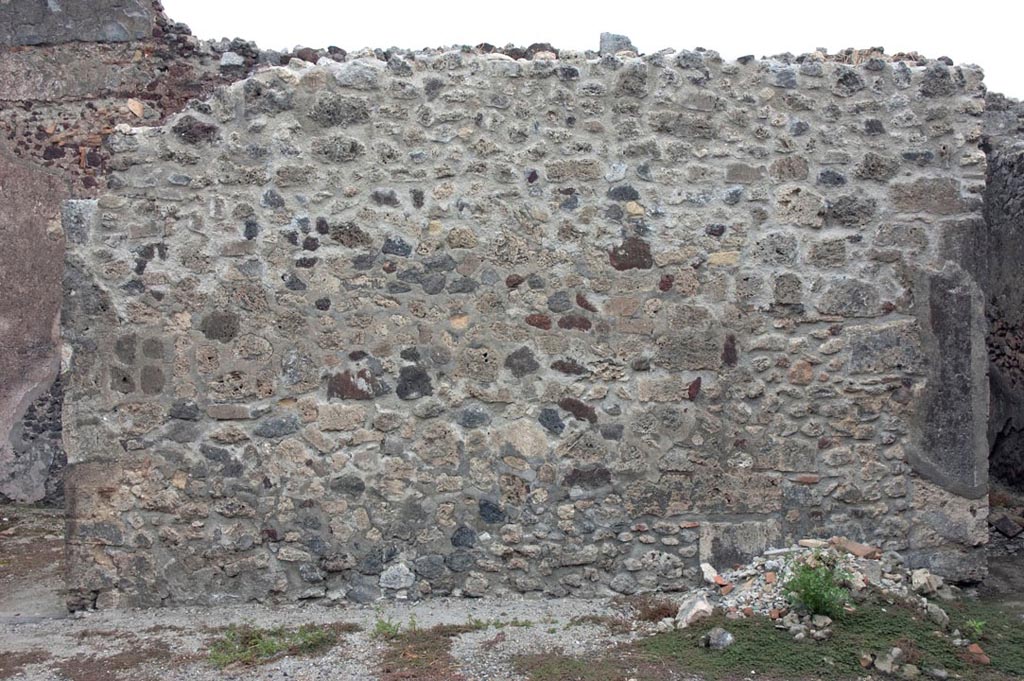
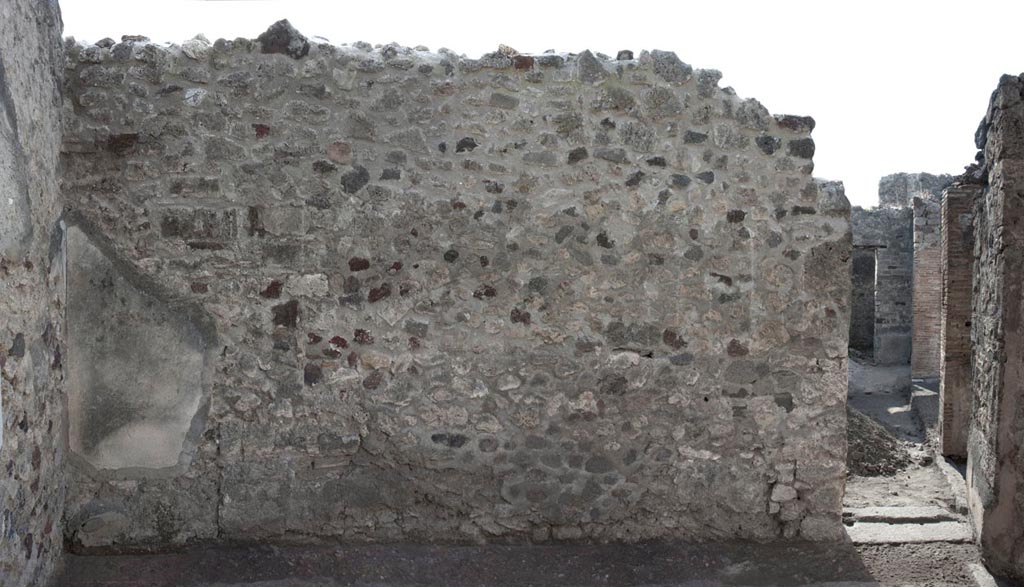
V.1.3 Pompeii. c.2008-10. Room 4, triclinium, south wall. Photo by Hans Thorwid.
Photo courtesy of the Swedish Pompeii Project.
V.1.3 Pompeii. c.2012. Room 4, triclinium, west wall with doorway to atrium, on right. Photo by Hans Thorwid.
“W wall in 2012. Restored parts of the wall photographed and merge with the lower part and floor line of earlier photos from 2005-7.”
Photo and words courtesy of the Swedish Pompeii Project.
V.1.3 Pompeii. c.2008-10.
Room 4, triclinium, flooring. Photo by Hans Thorwid.
“The floor was made in cocciopesto and is badly damaged.
It is preserved only in patches and is best preserved along the western wall and in the SW and SE corners.
There is no cocciopesto floor in the niche. The floor abuts
to the wall in the west.
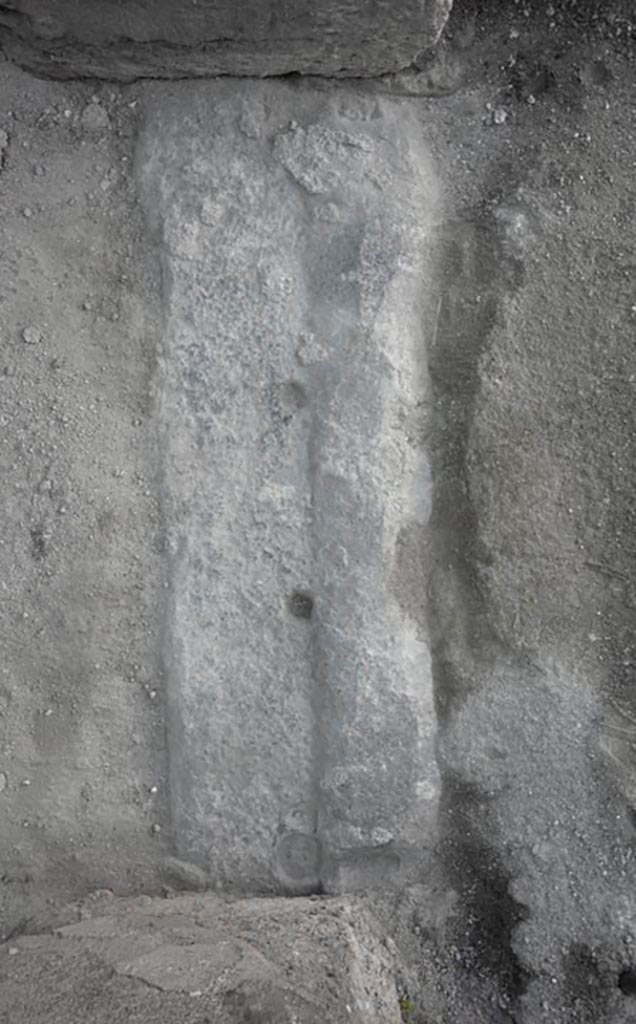
In the door opening between room 4 and the atrium there is a lava threshold.
The western part is slightly higher than the eastern which shows that the doors opened inwards towards the triclinium.”
Photo and words courtesy of the Swedish Pompeii Project.

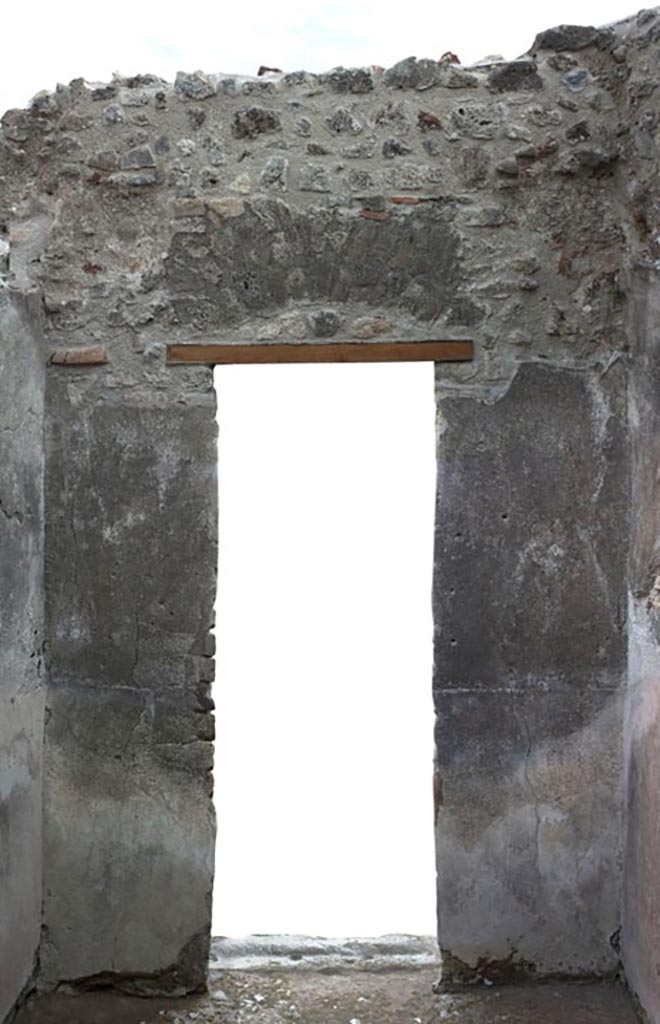
V.1.3 Pompeii. c.2008-10.
Doorway threshold of room 5 on west side of atrium.
Photo by Hans Thorwid.
Photo courtesy of the Swedish Pompeii Project.

Room 5, east wall with doorway to atrium in north-west corner of room 2 atrium.
Photo by Hans Thorwid.
“E wall in 2012. Restored parts of the wall photographed and merge with the lower part and floor line of earlier photos from 2005-7.”
Photo and words courtesy of the Swedish Pompeii Project.
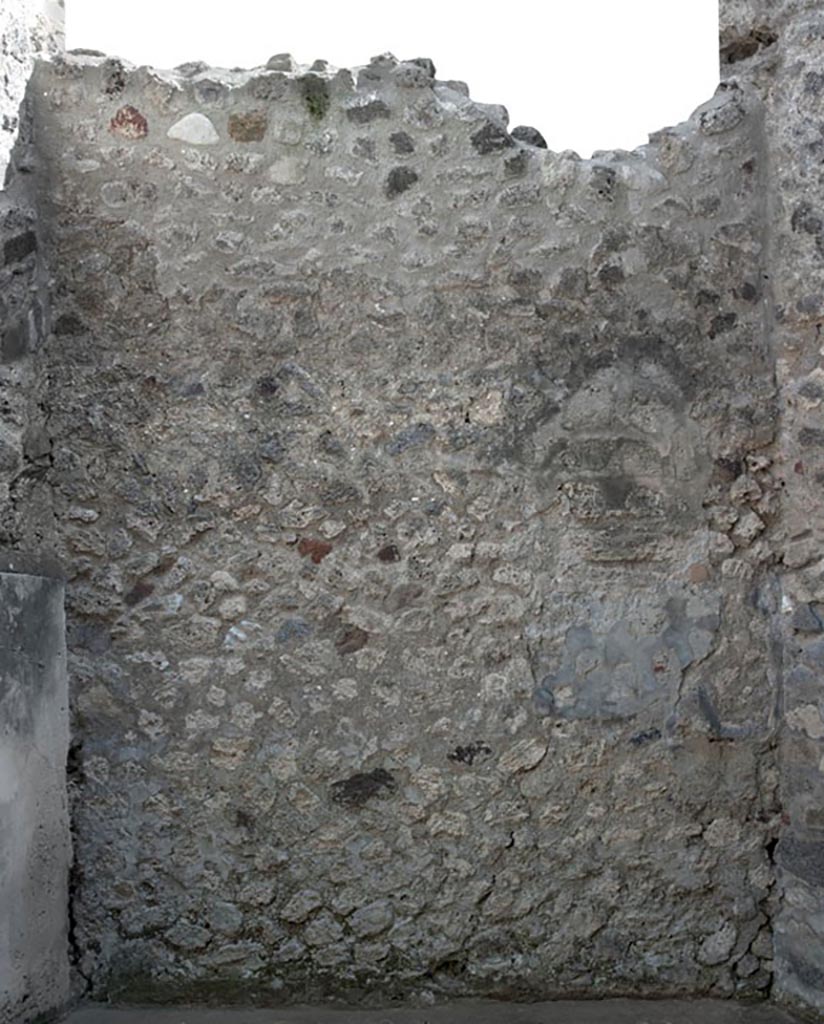
V.1.3 Pompeii. c.2012. Room 5, south wall. Photo by Hans Thorwid.
“S wall in 2012. Restored parts of the wall photographed and merge with the lower part and floor line of earlier photos from 2005-7.”
Photo and words courtesy of the Swedish Pompeii Project.
V.1.3 Pompeii. c.2008-10.
Room 5, west wall. Photo by Hans Thorwid.
Photo courtesy of the Swedish Pompeii Project.
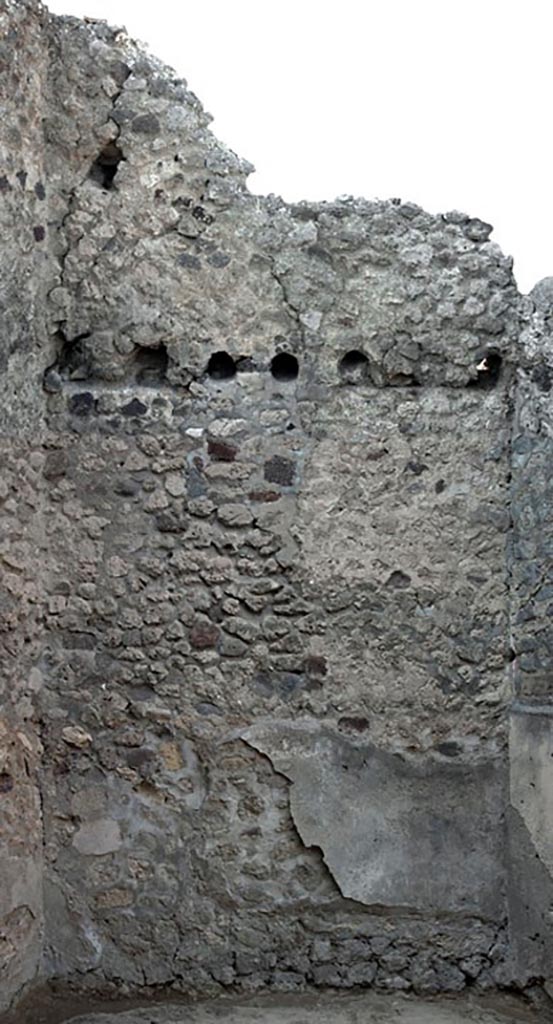
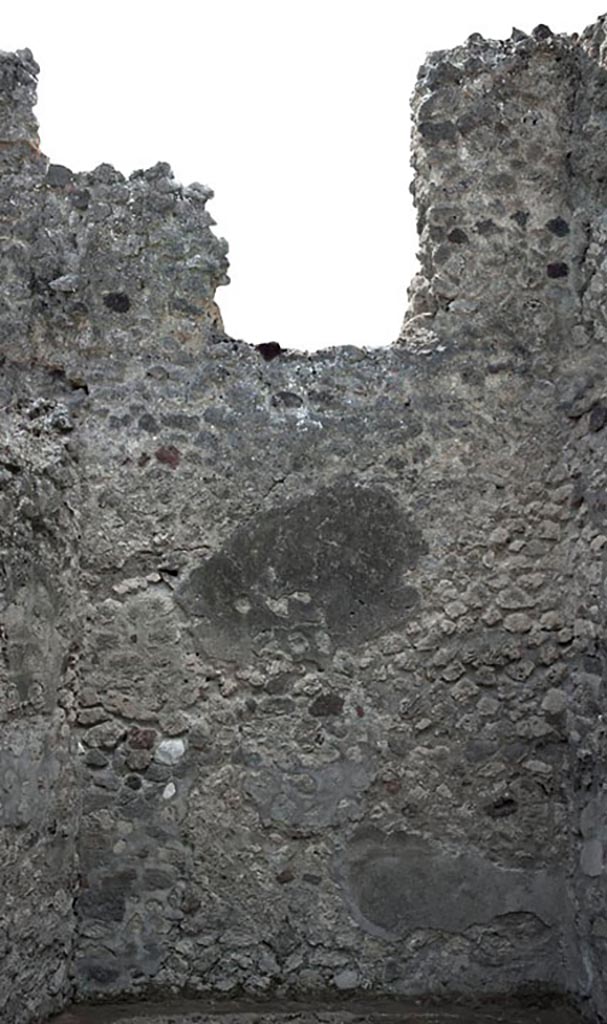
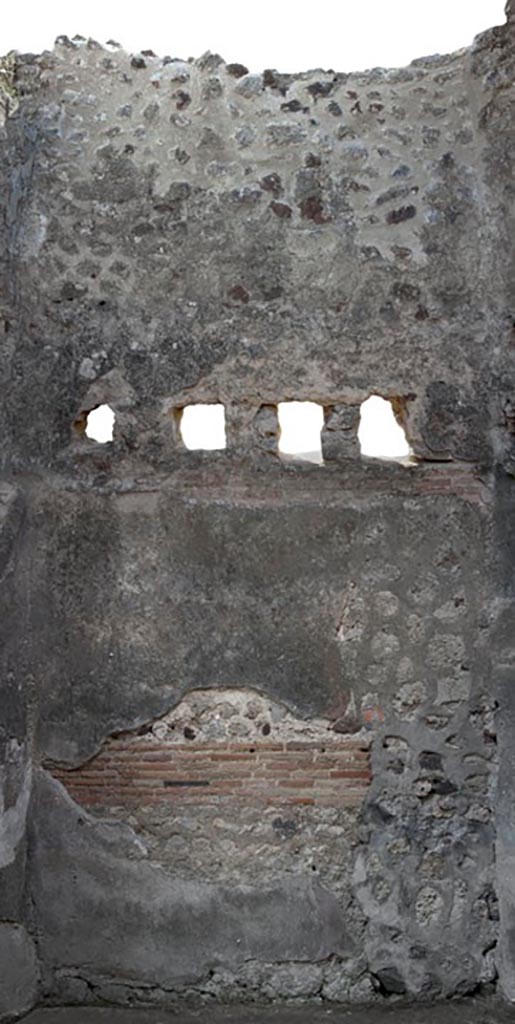
V.1.3 Pompeii. c.2008-10.
Room 5, north wall, with holes for support beams for an upper floor.
Photo by Hans Thorwid.
Photo courtesy of the Swedish Pompeii Project.

V.1.3 Pompeii. c.2008-10.
Doorway threshold of room 6 on west side of atrium.
Photo by Hans Thorwid.
Photo courtesy of the Swedish Pompeii Project.
V.1.3 Pompeii. c.2012.
Room 6, east wall with doorway to atrium, room 2.
Photo by Hans Thorwid.
“E wall in 2012. Restored parts of the wall photographed and merge with the lower part and floor line of earlier photos from 2005-7.”
Photo and words courtesy of the Swedish Pompeii Project.

V.1.3 Pompeii. c.2012.
Room 6, south wall. Photo by Hans Thorwid.
“S wall in 2012. Restored parts of the wall photographed and merge with the lower part and floor line of earlier photos from 2005-7.”
Photo and words courtesy of the Swedish Pompeii Project.

V.1.3 Pompeii. c.2008-10.
Room 6, west wall, with doorway in upper floor, connecting with V.1.31.
Photo by Hans Thorwid.
Photo courtesy of the Swedish Pompeii Project.

V.1.3 Pompeii. c.2008-10. Room 6, north wall. Photo by Hans Thorwid.
Photo courtesy of the Swedish Pompeii Project.
V.1.3 Pompeii. c.2008-10. Room 6, looking down onto flooring. Photo by Hans Thorwid.
Photo courtesy of the Swedish Pompeii Project.
V.1.3 Pompeii. c.2008-10.
Doorway threshold of room 7 on west side of atrium.
Photo by Hans Thorwid.
Photo courtesy of the Swedish Pompeii Project.
V.1.3 Pompeii. 2012.
Room 7, east wall with doorway into atrium.
Photo by Hans Thorwid.
“E wall in 2012. Restored parts of the wall photographed and merge with the lower part and floor line of earlier photos from 2005-7.”
Photo and words courtesy of the Swedish Pompeii Project.
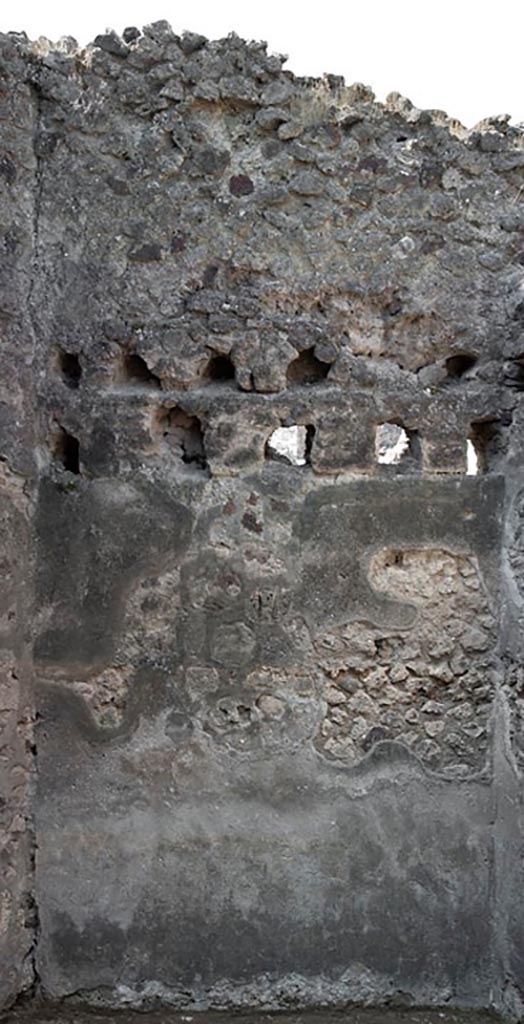
V.1.3 Pompeii. 2012.
Room 7, south wall with holes for support beams.
Photo by Hans Thorwid.
“S wall in 2012. Restored parts of the wall photographed and merge with the lower part and floor line of earlier photos from 2005-7.”
Photo and words courtesy of the Swedish Pompeii Project.
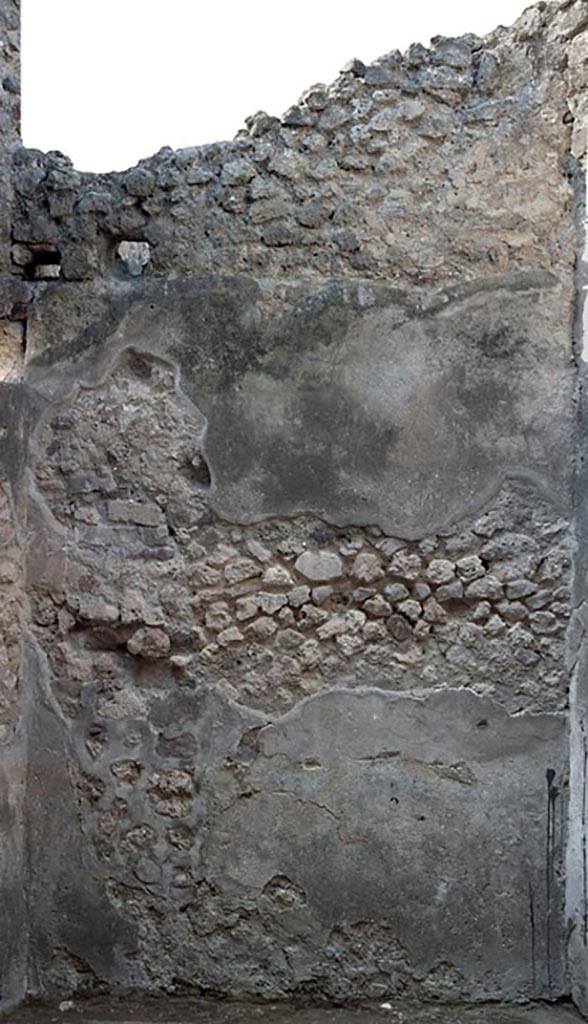
V.1.3 Pompeii. c.2008-10.
Room 7, west wall. Photo by Hans Thorwid.
Photo courtesy of the Swedish Pompeii Project.
V.1.3 Pompeii. c.2008-10.
Room 7, north wall. Photo by Hans Thorwid.
Photo courtesy of the Swedish Pompeii Project.